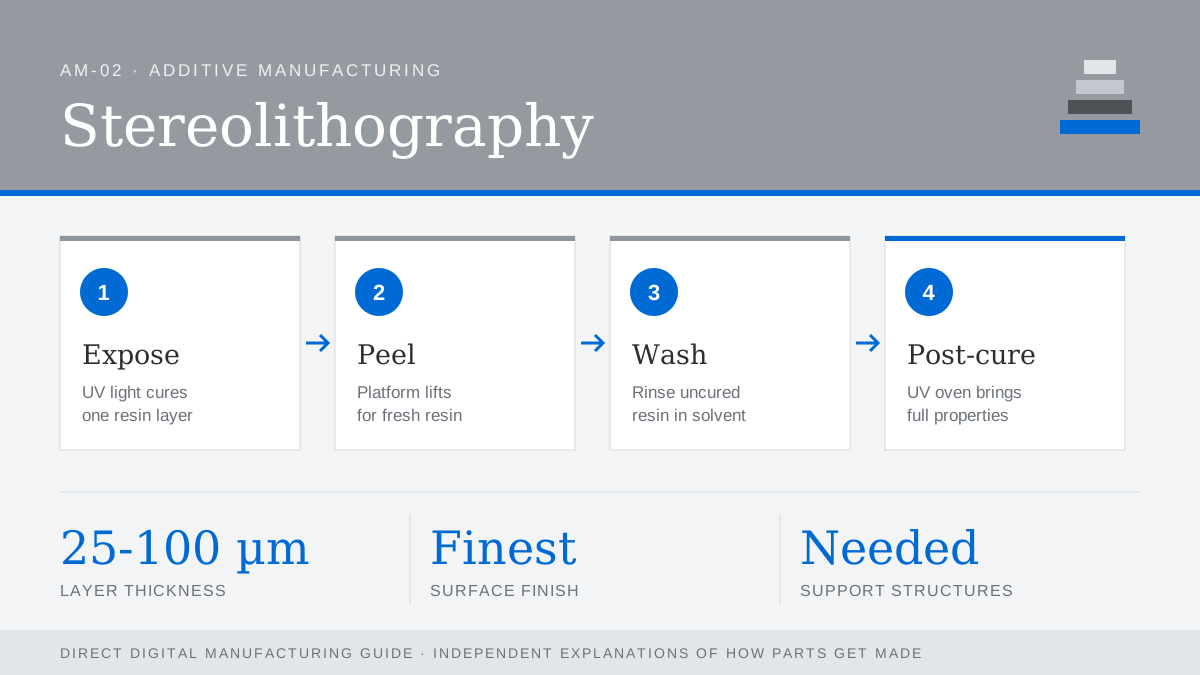
Stereolithography (SLA) cures liquid photopolymer resin with ultraviolet light. In classic machines a UV laser traces each layer on the surface of a resin vat; newer systems project a whole layer at once with a digital light projector or an LCD mask. After printing, parts are rinsed in solvent and post-cured under UV to reach their final properties.
Strengths
- Surface finish. Layer lines are so fine that parts can look nearly molded after light sanding.
- Detail. Thin walls, sharp edges and small text reproduce well.
- Clear and specialty resins. Transparent, castable, high-temperature and dental grades are all available.
Limitations
- Overhangs need support structures, which leave small marks where they are removed.
- Standard resins are more brittle than molded thermoplastics and can degrade under long sun exposure.
- Large, flat sections can curl during curing.
Typical uses
SLA is the go-to process for appearance models, fit checks, and master patterns. That last use matters: a well-finished SLA part is often the starting point for RTV silicone tooling or investment casting, so its accuracy carries through to everything made from it.
Design tips
- Orient cosmetic faces away from supports.
- Hollow large parts and add drain holes to save resin and reduce suction forces during printing.
- Allow for a small amount of shrinkage during post-cure on tight-tolerance features.