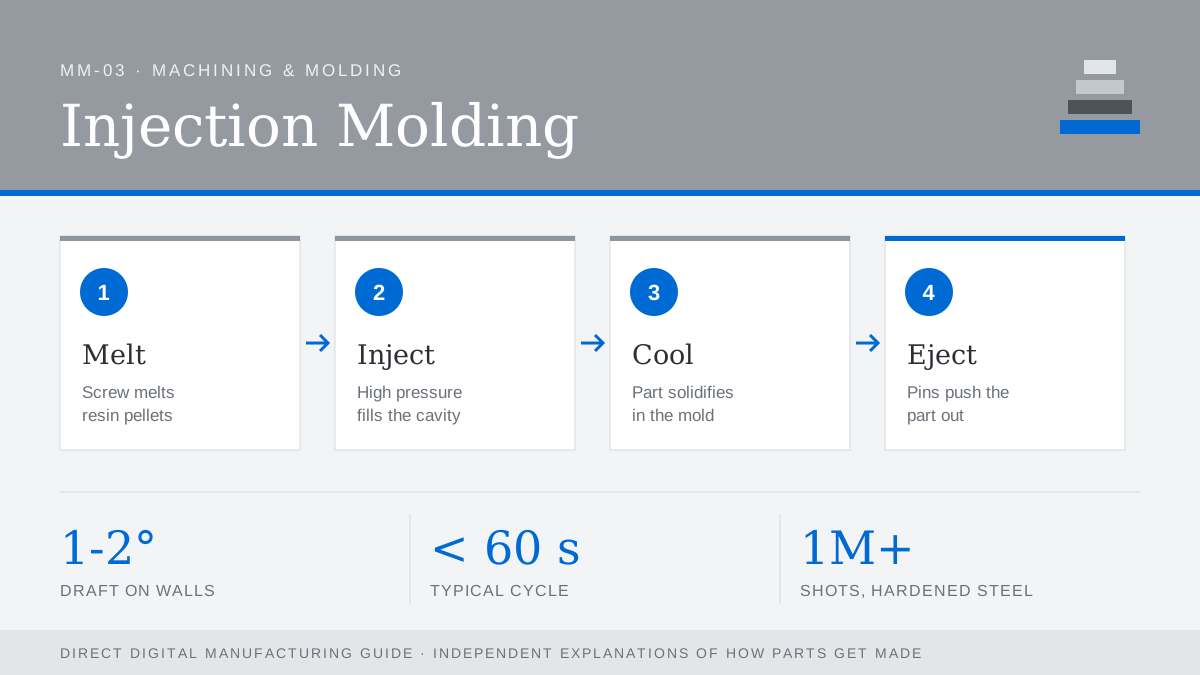
Injection molding melts thermoplastic pellets and forces them under high pressure into a closed metal mold. The part cools, the mold opens, ejector pins push it out, and the cycle starts again, often in under a minute. Once the tool exists, the price per part is very low, which is why most plastic products are made this way.
Tooling options
| Tool type | Typical life | Use |
|---|---|---|
| Printed polymer inserts | Tens of shots | Design validation in the real resin |
| Aluminum | Thousands to tens of thousands | Bridge and low-volume production |
| Pre-hardened steel (P20) | Hundreds of thousands | Mid-volume production |
| Hardened tool steel (H13, S7) | A million and beyond | High volume, abrasive resins |
Metal-printed mold inserts with conformal cooling channels are a good example of additive and conventional processes working together: the channels follow the part shape and can shorten cycle times noticeably.
Design rules that save money
- Uniform wall thickness. Thick sections cause sink marks and voids.
- Draft. 1–2° on vertical walls helps parts release; more on textured faces.
- Ribs over bulk. Ribs around 50–60% of the adjoining wall thickness add stiffness without sink.
- Avoid undercuts unless they are worth the cost of side actions or lifters.
- Radii on inside corners reduce stress and help material flow.
The cost picture
The tool is the big up-front cost; parts are cheap afterwards. Prototype in printed parts or soft tooling until the design is stable, because changing a hardened steel mold is slow and expensive.